


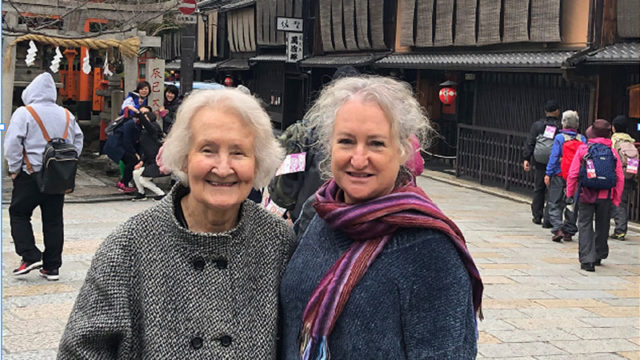


Our Readers’ Choice Awards 2024 Winners!
The results are in!
 Lifestyle Guide To Moving To & Living in Singapore - Expat Living
Moving to Singapore and not sure where to start? Expat Living is the essential lifestyle guide to living in Singapore.

Has it been a while since you donned a snuggly wooly jumper and popped on a pair of Uggs? Wrap up for one of these
The results are in!

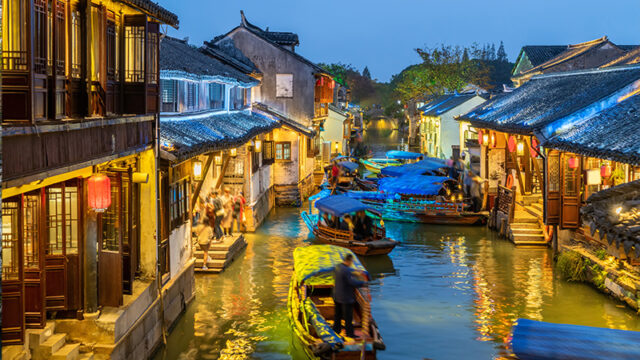
Getting immersed in Khmer culture and history

Discover the best time to travel, plus trivia, planning tips and much more!

Surely one of these is on your travel bucket list!

We review a property in the heart of Wan Chai!

A hotel location with a difference can make for a nice change!

Getting there, what the waves are like, and other tips

When to go, what to see, and what you need to sort out before your trip!

When to go, places to see and everything you need for planning a great trip!

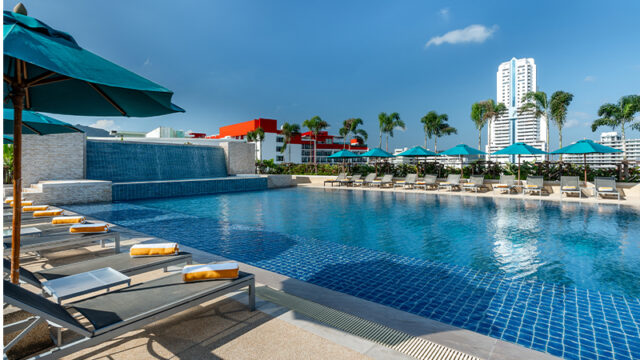
Our editor puts this haven for professionals – and leisure travellers – to the test!
Take a trip to Singapore’s closest neighbour and see some of its 800 islands!

‘Tis the season to staycation!

Singapore’s newest experience!

Eat, sleep and play golf in paradise!

What do you get when you combine a world-class ski resort with the coolest members club in Asia?

Discover amazing nature and scenery – and, no, it’s not in Sapa!

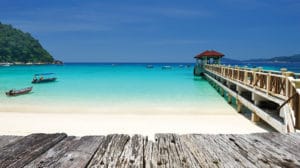
Beachy getaways with high tides and good vibes!

Do something different this holiday season!

It’s located in the heart of downtown Hanoi!

With 7,107 islands to explore there’s plenty to do in the Philippines – here are some to get you started!